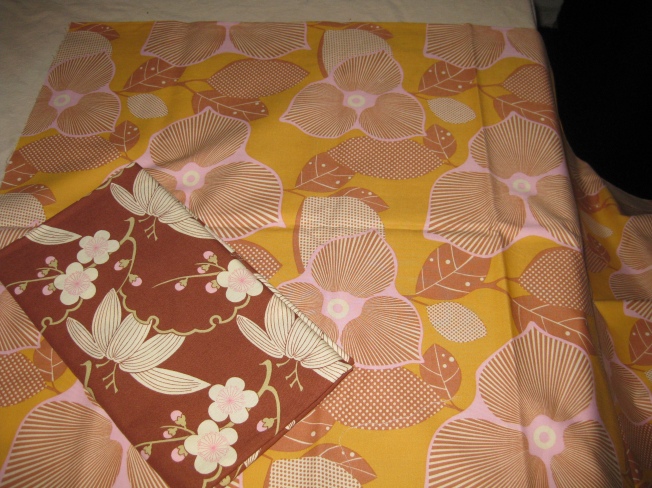
For this skirt, choose two fabrics, in contrasting styles and/or colors.
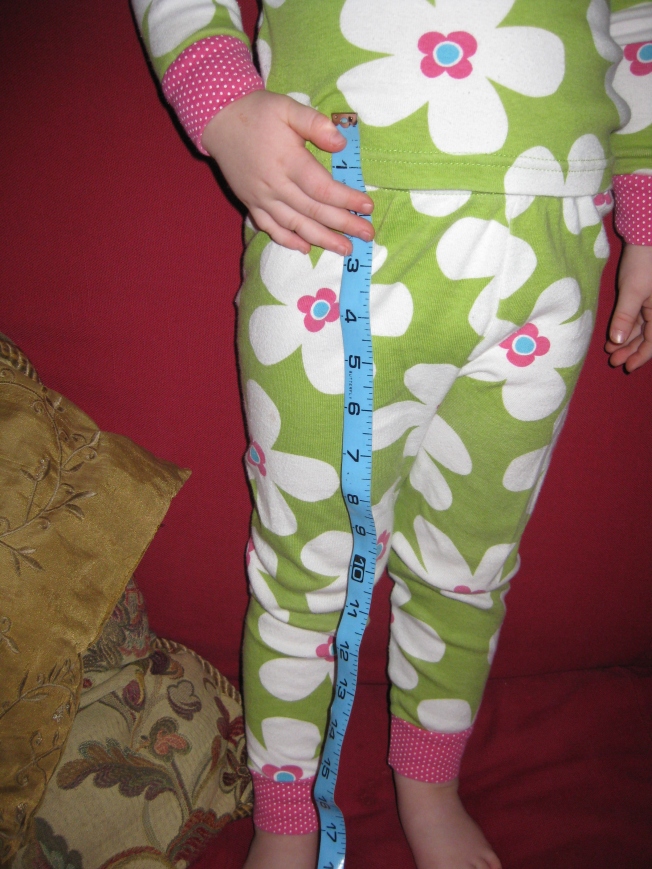
Measure your subject for your desired length of skirt.
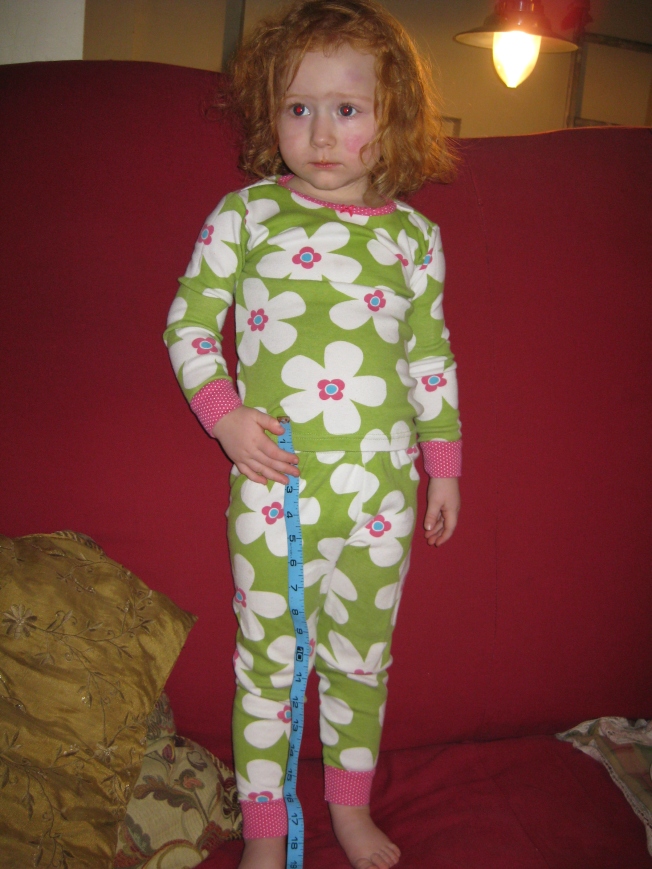
For Hannah, I wanted something about 13-14 inches long.
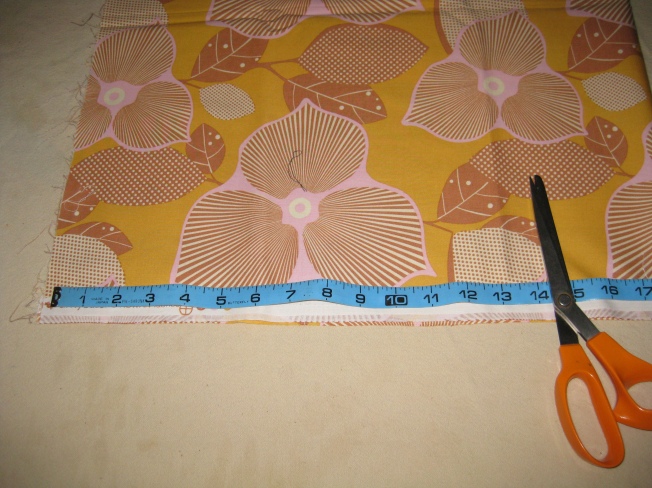
Lay out your main fabric choice. I use a standard 45 inch wide length of fabric. For younger children, one length of fabric is enough…as they get older, and if you want a fuller skirt, cut two lengths and sew them together making one strip that’s 90 inches wide. Measure to an inch longer than the length that you would like the final garment to be. I cut Hannah’s fabric at 14 inches. (Final skirt ended at 13 inches.)
Measure out your contrast fabric at an inch and a half longer than the size of the band you want. I wanted about three inches, so cut the contrast at 7 inches and a half inches.
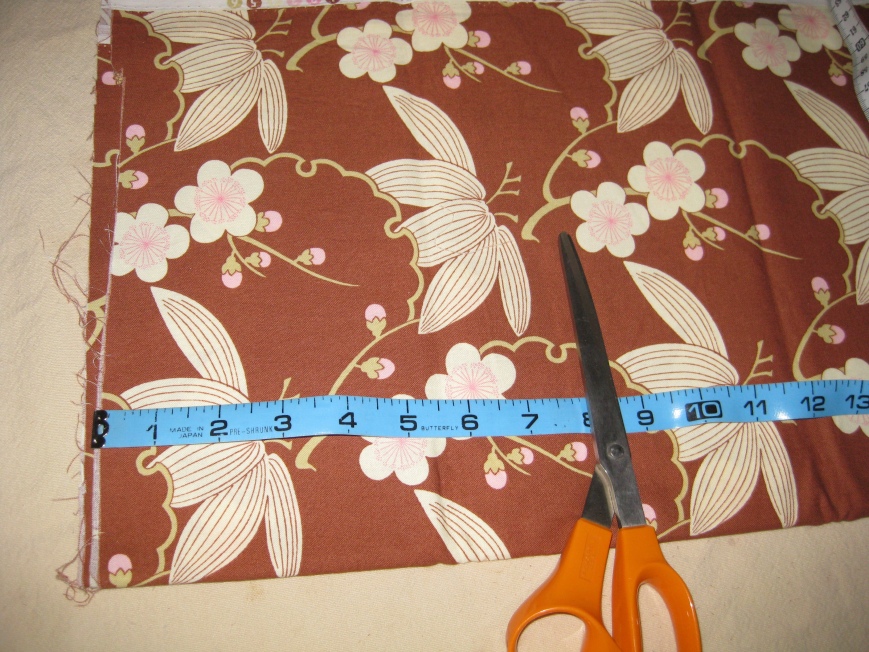
With right sides together, sew the contrast to the main fabric along one long edge.
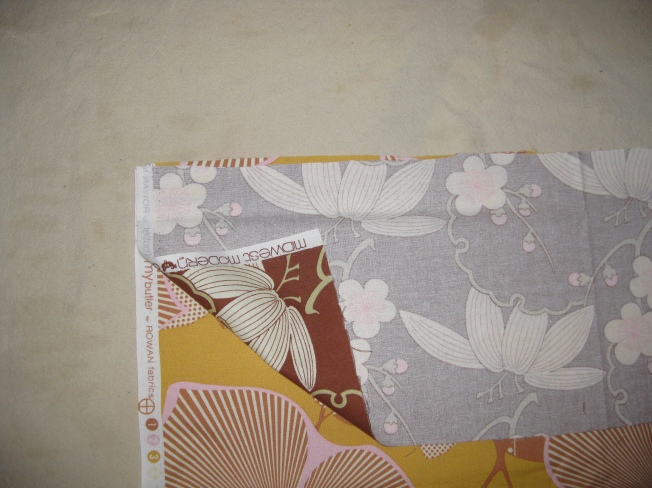
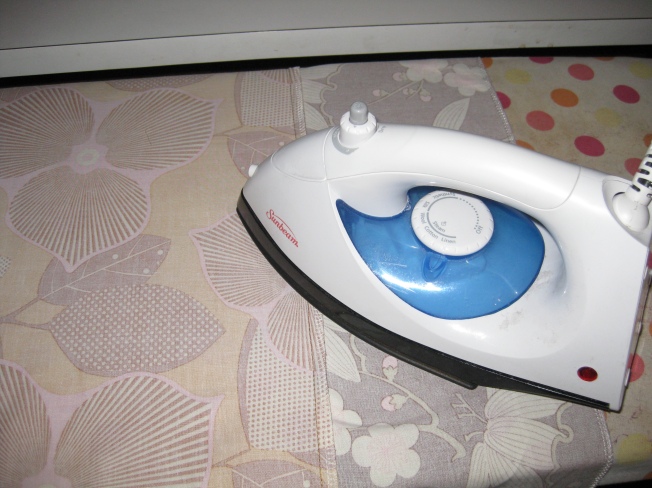
Press towards the contrast.
With right sides together sew one long seam along the side, matching up the seams where the main fabric changes to the contrast fabric, and press. The added bonus of using a full wide length of fabric is that the natural sides are already finished and you don’t have to worry about any unravelling or messy edges.
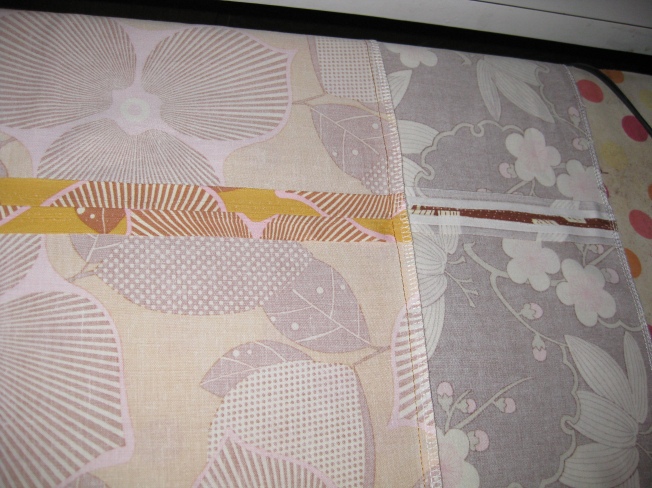
Press up the hem and press down the waist at approximately 1/4 inch each.
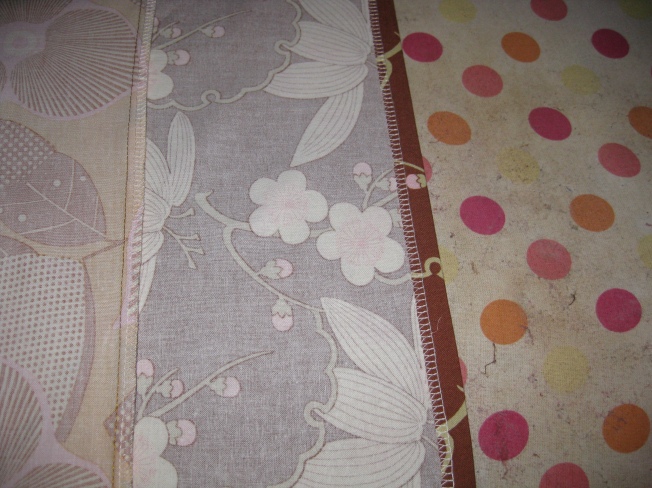
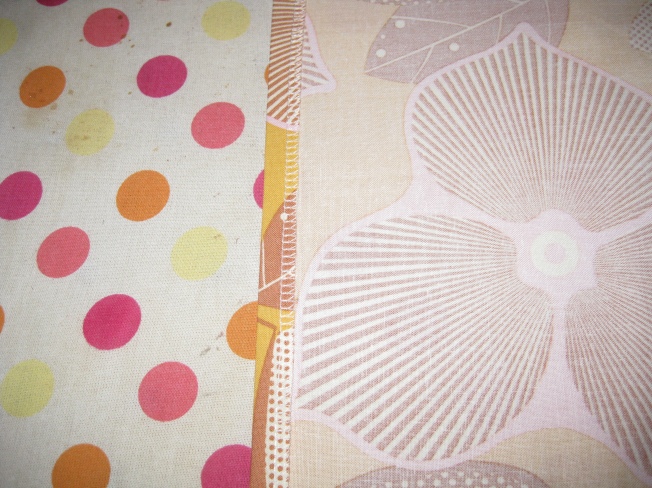
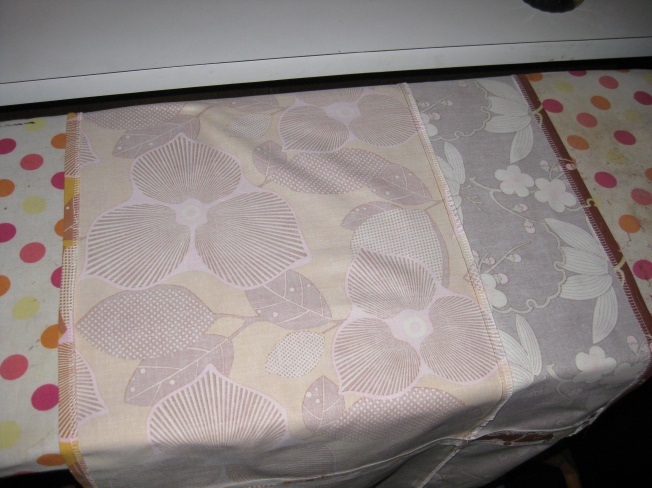
Fold up the hem and press so that it covers the seam pressed towards the contrast with a tiny bit of extra.
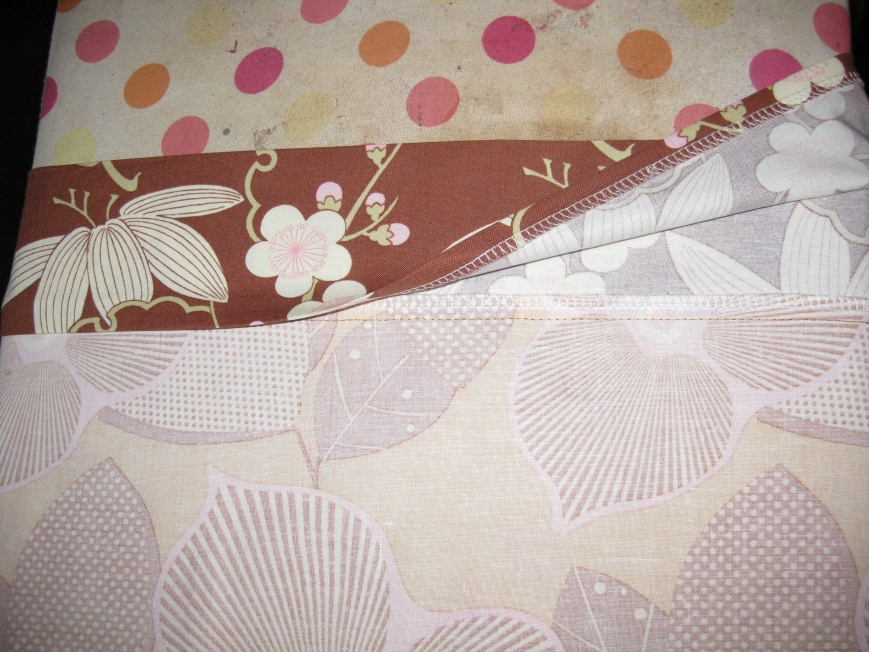
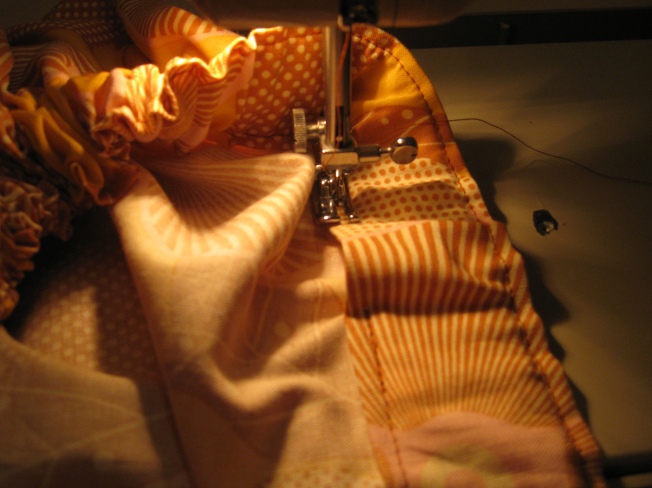
Sew the hem into place from the front of the skirt, keeping your stitches as close to the contrast seam as possible…they sort of dissapear if you keep it tight.
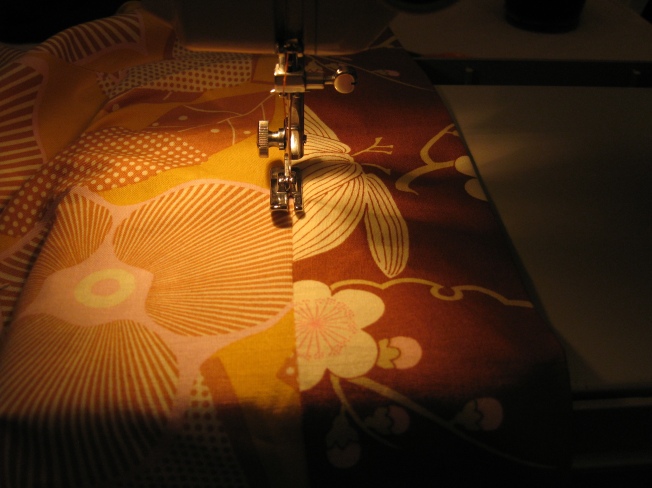
Odds are good that you may have missed an inch or two of the hem.
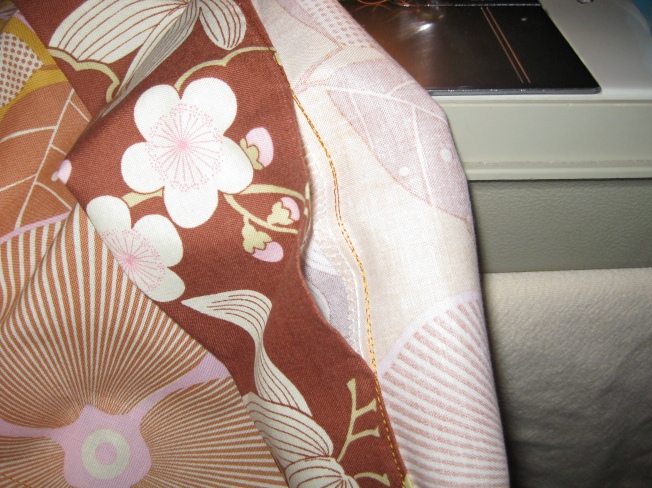
…not to worry. Just pin it up and over the line where the seam needs to be…
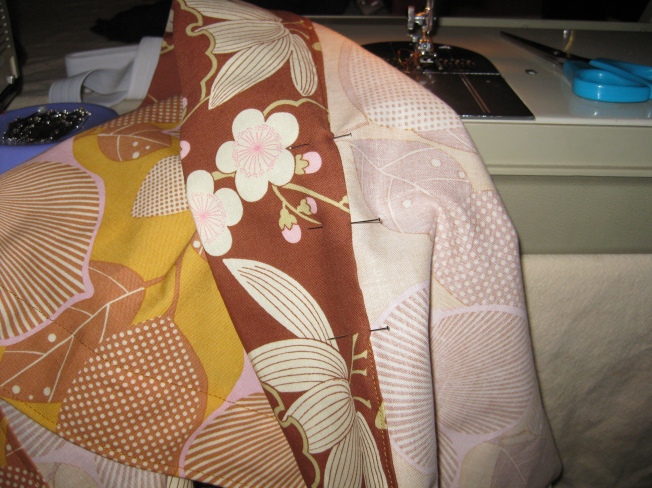
…and sew again.
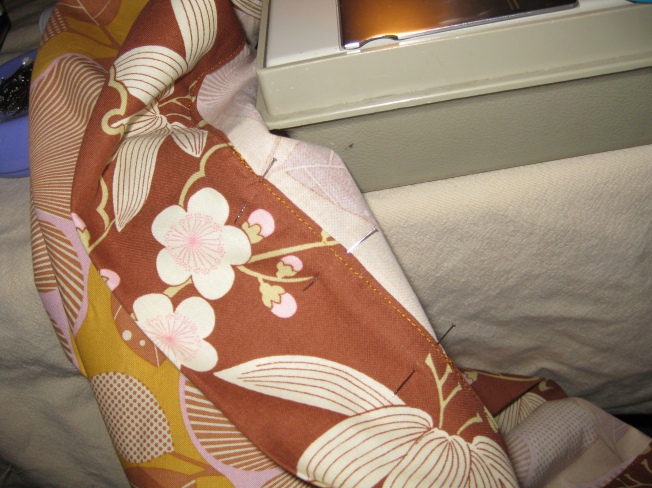
Fold down the waist seam wide enough to cover your elastic with 1/2 inch of fabric to spare.
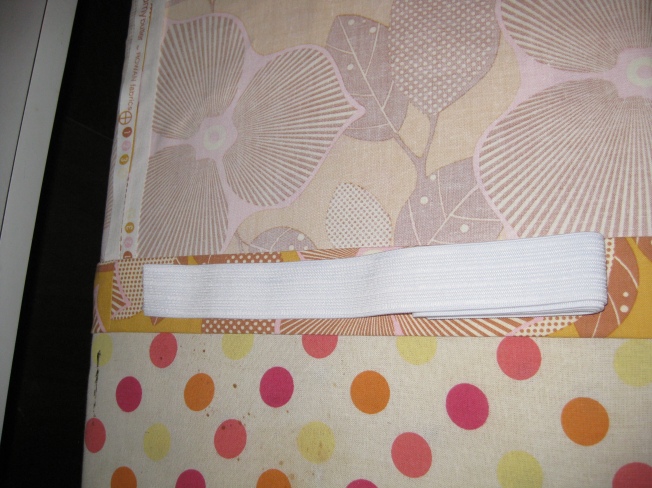
Sew along the edge, leaving a 2 inch space to be able to feed your elastic through.
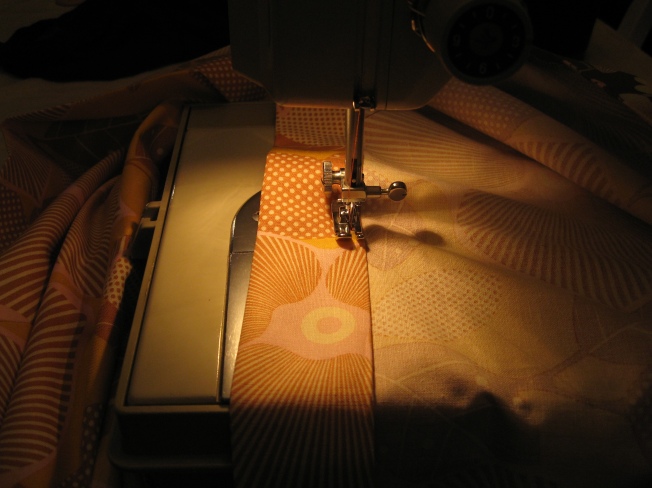
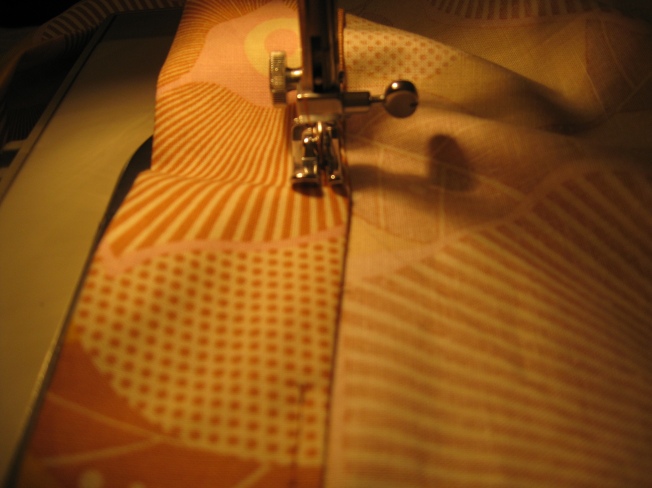
As an added touch, I like to sew a line along the top of the skirt as well…this tends to keep the elastic more flat and finishes off the top in a more professional way.
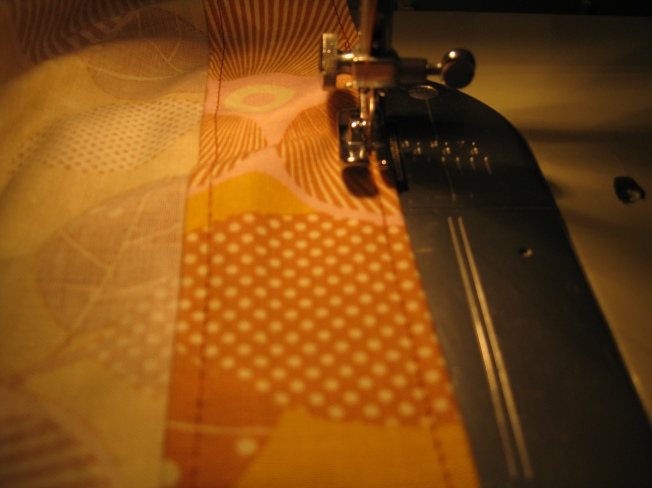
Feed your elastic through the casing…
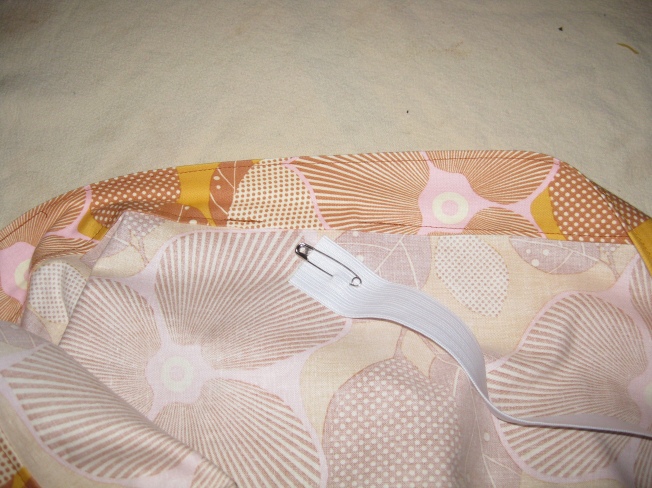
…sew your elastic together…
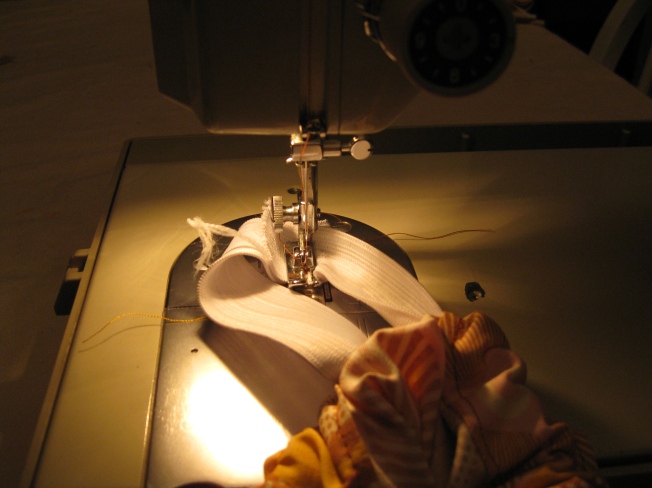
…and sew the two inch opening closed.
You will have a finished skirt!
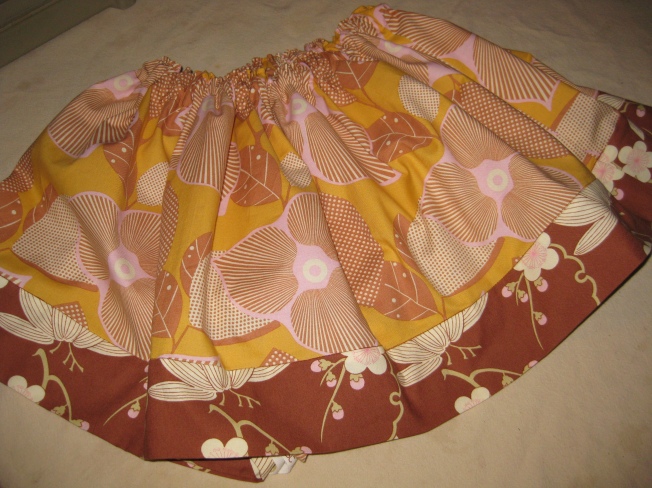
At this point, you can add any appliques or flowers…any decorative touches that you like. But the final step is always to try it on your subject for your final approval.
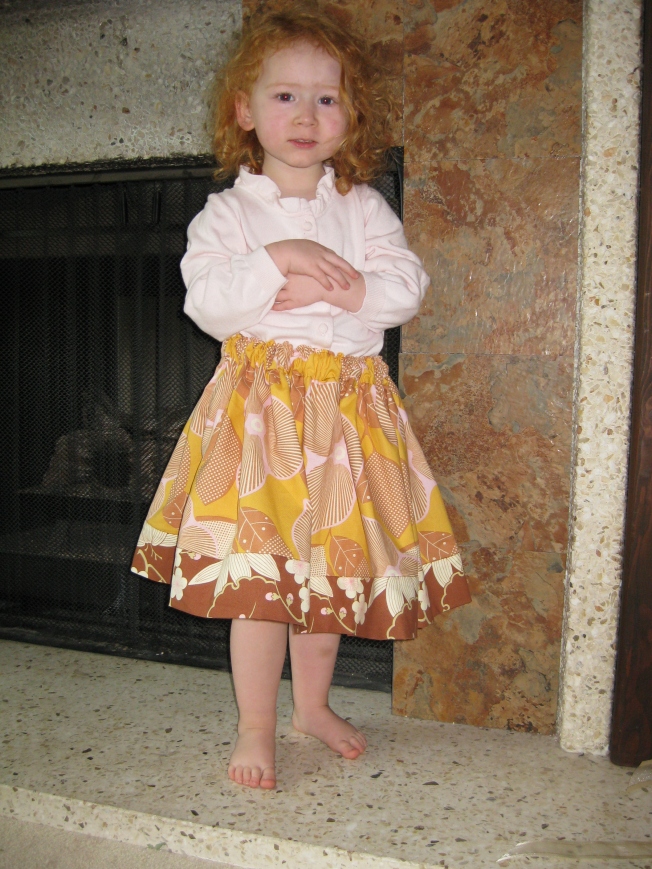
Hannah hasn’t taken her skirt off all day, and it did end up being just 13 inches long, as I had wanted it to be. Hannah also keeps asking me when I’m going to make a matching skirt for Olivia. I guess that will be next! The nice thing about the measurements here is that when I have purchased equal amounts of both the main and the contrasting fabric, the leftover material works out perfectly to have the contrast become the main fabric and the main fabric become the contrast for a second skirt. It’s a great option for sisters that you want to match, but don’t want to be exactly the same.
I hope this fun project has been clear and easy enough to follow. Do let me know if anything at all was confusing, and I’ll shift, re-word, or edit as needed to make it better understood.
Happy Sewing everyone!
Oct11